Pix4Dmapper export guide
Drag a Pix4Dmapper project folder and your original photos into Nira to see calibrated cameras, mesh, point cloud and orthomosaic, with the files kept.
Written By Nira.app
Last updated 4 days ago
How to upload your Pix4Dmapper project to Nira
Nira reads Pix4Dmapper's calibrated camera data, so your original photos show up in the viewer as camera markers with a photo strip alongside your mesh and point cloud.
You do not need to pick out individual files. Drag the whole project folder in and Nira keeps only what it needs.
Drag your entire Pix4Dmapper project folder into your Nira dashboard. Nira uploads the camera parameters, mesh, textures, point cloud, and a single orthomosaic, and skips the rest of the folder.
Drag in your original photos. The project folder does not contain them, so they have to come from wherever you keep them. Photos are matched to the cameras by filename, so upload the originals under their original names.
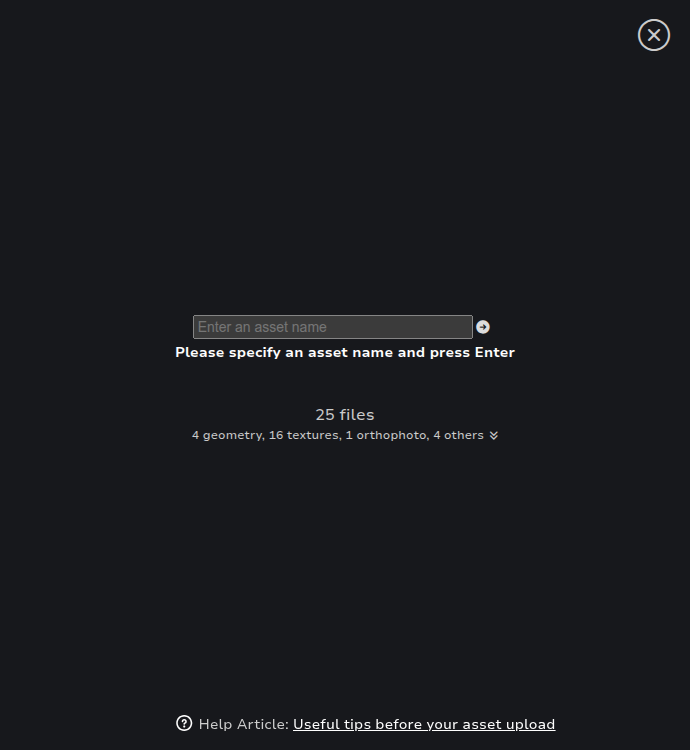
Enter an asset name and click Start Upload. The asset type is set to Reality Data automatically.
The upload dialog guides you at each stage with an on-screen message, so you can drag the files in any order, or all at once.
Once the photos are in, Nira confirms that it has both the camera data and the photos:

File details
These are the files Nira keeps when you drag and drop your project folder, and what each one is for. The examples use <project name> for your own project's name.
Calibrated camera data: <project name>_calibrated_camera_parameters.txt (...\1_initial\params\). The camera positions and lens calibration that place your photos in the scene.
Georeference offset: <project name>_offset.xyz (...\1_initial\params\). The shift that puts the project back at its real world position.
Coordinate system: <project name>_wkt.prj (...\1_initial\params\). The coordinate reference system your project was processed in.
3D textured mesh (multiple files): *.obj + *.mtl + *.jpg (...\2_densification\3d_mesh\). The model itself, its material file, and its textures. All three kinds are needed.
3D point cloud (optional): <project name>_group1_densified_point_cloud.las (...\2_densification\point_cloud\). Shown as a point cloud layer you can turn on and off.
Orthomosaic (optional): <project name>_transparent_mosaic_group1.tif (...\3_dsm_ortho\2_mosaic\). The 2D map view. Nira keeps one orthomosaic per asset.
Photos (multiple files): *.jpg (stored separately from the project folder). Your original photos, matched to the cameras by filename.
Other data in a Pix4Dmapper project
<project name>.p4d is the project file. On its own it is not enough, because it holds no calibrated camera data. Upload the project folder instead.
*.fbx is not needed. The OBJ + MTL + JPG files include everything Nira uses for the mesh.
DSM and DTM outputs: support is coming later.
Everything else in the project folder (processing intermediates, tie points, reports) is skipped, so there is no cost to dragging the whole folder in.
Was this helpful?
Still need help? Share an idea