How to export your Bentley iTwin project for Nira
First, a note on georeferencing:
If your photo includes geotag EXIF metadata, iTwin will automatically choose the local WGS 84 / UTM Spatial Reference System (SRS) during the Reconstruction step.
You can choose to use a different SRS if you prefer something else, but please be sure it's cartesian. To check this, look up the EPSG code here: https://epsg.io. Ensure that it includes "Coordinate System: Cartesian 2D CS". For example, the page for EPSG:28992 confirms that is cartesian, whereas EPSG:4326 is not. If your preferred coordinate system is not cartesian, you should use a UTM Zone instead.
Export model and Textures:
1. Click Submit New Production:
2. Purpose > Export 3D mesh
3. Format/Options: OBJ wavefront
Be sure to disable Tile overlap.
4. Choose the same SRS you used when setting the Spatial Framework (see first screenshot above):
iTwin may suggest that you use a different vertical SRS. You are welcome to use whatever you prefer (e.g., EGM 96).
Click Submit and wait for iTwin to output all the required mesh and texture data.
Export Camera Aerotriangulation data:
1. Click Export
2. Change Output format to BlocksExchange XML format (be sure not to choose XMLZ -- the default)
3. Change Spatial reference system to match whatever you used when outputting the mesh and textures.
Upload all of the following files to Nira:
- Photo files: (jpg, png, or tiff)
- Camera: (BlocksExchange XML)
- Spatial Reference System geolocation data: metadata.xml
- Textures: (.jpg)
- Mesh: (.obj and .mtl files)
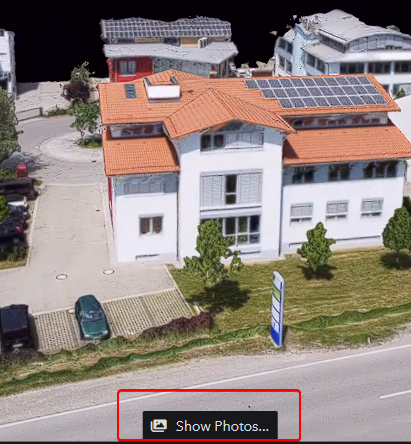
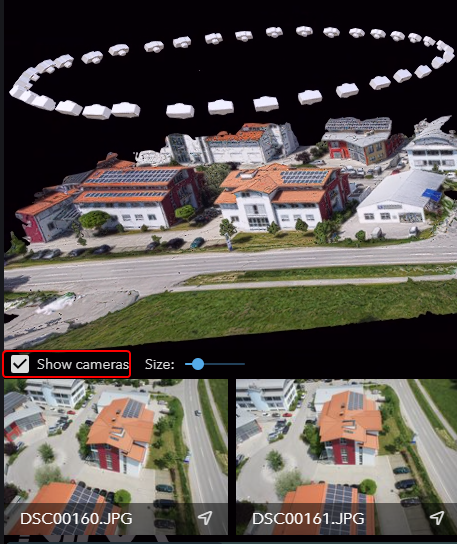
After uploading, you’ll have all of your photos (and orthomosaics if created) available within the Show Photos… button, and GPS coordinates will be shown on the asset's preview page and within callout dialogs.
Was this article helpful?
Articles in this section
- RIEGL RiSCAN PRO
- Faro SCENE
- RealityScan custom Ground Plane compatibility (Formerly RealityCapture)
- DJI Terra and DJI Modify
- RealityScan (Formerly RealityCapture)
- Agisoft Metashape
- 3DF Zephyr
- Bentley iTwin (Formerly ContextCapture)
- What photogrammetry software is compatible with Nira?
- Agisoft Metashape (Integrated Uploader)
Add comment
Please sign in to leave a comment.